Functional mailbox with Outlook
Table of contents
sprungmarken_marker_14790
Notes
If you want to integrate a functional mailbox in Outlook, you have two options.
A) Add a functional mailbox as an additional mailbox
B) Add a functional mailbox as an additional account
Differences between option A and option B
Case A is the functional mailbox as an additional mailbox and case B is the functional mailbox as an additional account. The differences include
- For case B to work, you need full access to the mailbox. Then you can also see all folders and have full rights. Case A only requires viewing rights at the top folder level. Then you can see all subfolders for which you have at least viewing rights.
- Case B is an independent account with its own special folders, such as Sent Items, Deleted Items, Address Book, Public Folder, Reminders for Tasks and Calendar, etc. For example, if you send a message from the function mailbox, the sent message is stored in the Sent items folder of the function mailbox. Case A, on the other hand, only allows access to the content. The special folders are those from the mailbox that is configured for the Exchange account.
- Case B requires separate authentication. Case A, on the other hand, uses the authentication with which you have logged in to the mailbox that is configured for the Exchange account.
- Case B only works from Outlook 2010 onwards. The mailboxes of the Exchange accounts can be located in different Exchange organizations. In case A, only an additional mailbox can be opened that is located in the same Exchange organization as the mailbox that is configured for the Exchange account.
Functional mailbox with Outlook 2024/365
A) Adding a functional mailbox as an additional mailbox
In Outlook, go to the menu:
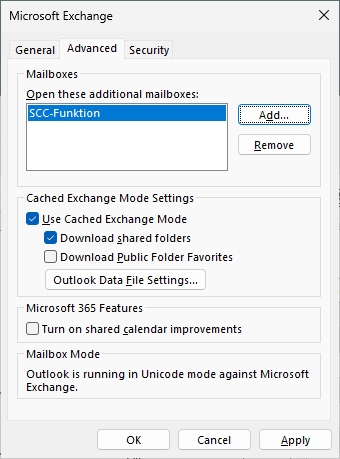
- File - Account settings - Account settings... <your Exchange account> - Change - More settings - Advanced"
- "Add"
- Enter the name of the function mailbox to be added, e.g. SCC function.
- Close all previously opened dialog boxes with "OK", "Next" and "Done".
- If you receive the message "Allow this website to configure of <email address of the function mailbox> server settings?" with the destination "https://autodiscover.kit.edu/autodiscover/autodiscover.xml", enable the option "Don't ask me about this webiste again" and click on "Allow".

- After confirming your settings, the added functional mailbox will appear in the Outlook folder list.
To send as it, proceed as follows
- Create a new message, e.g. with "Home - New Email".
- Show the From field via "Options - From".
- Click on the From field and select "Other Email Address ...".
- Enter the desired sender address.
B) Adding a functional mailbox as an additional account
In Outlook, go to the menu:
- File - Account settings - Account settings... - Email
- "New"
- Enter the following data:
- Email address: Email address of the function mailbox, e.g. function∂scc kit edu
- Advanced options
- Let me set up my account manually: Yes
- "Connect"
- Select "Exchange" as the account type
- If you receive the message "Allow this website to configure of <email address of the function mailbox> server settings?" with the destination "https://autodiscover.kit.edu/autodiscover/autodiscover.xml", enable the option "Don't ask me about this webiste again" and click on "Allow".
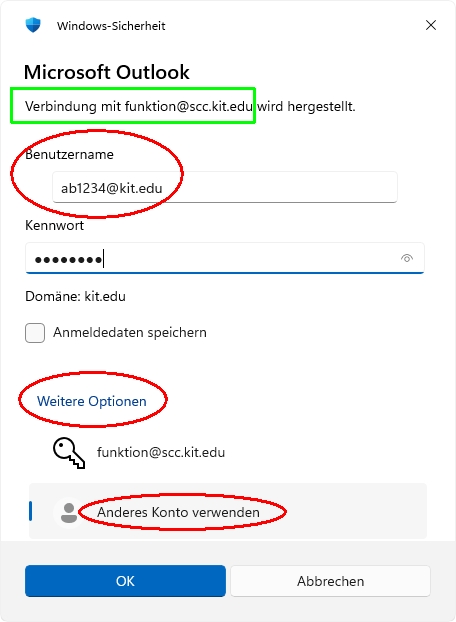
- If a login window appears, enter the following data:
- To change the user name (red bordered): "More choises - Use different account"
- User name: Your KIT account
- Employees: <ab1234>∂kit.edu
- Students: <uxxxx>∂student.kit.edu
- Guests and partners: <ab1234>∂partner.kit.edu
- Password: Your corresponding password

- OK
- Done - Close
- Restart Outlook
The added functional mailbox now appears in Outlook in the Outlook folder list.
To send as it, proceed as follows:
- If you create the new message in the mailbox of the functional mailbox, the functional mailbox is automatically selected as the sender.
- Otherwise, create a new message, e.g. with "Home - New Email".
- Click on the From field and select the account of the function mailbox.
Open a shared (default) calendar
To open a shared calendar in Outlook, you have several options:
- Menu "File - Open & export - Other User's Folder"
- Name: Name of the mailbox, e.g. "SCC-function"
- Folder type: Calendar

- Switch to your own calendar
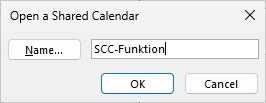
- Menu "Home - Add - Open Shared calendar..."
- Name: Name of the mailbox, e.g. "SCC-function"
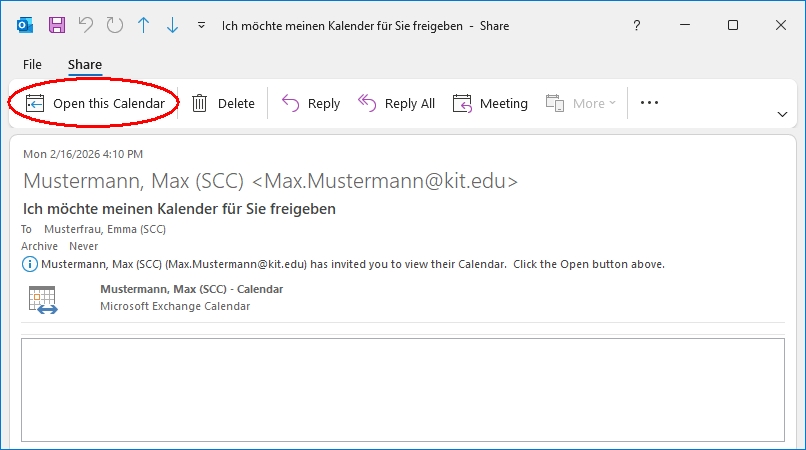
- Share invitation
- Open received sharing invitation
- Menu "Share - Open this Calendar"
- Mailbox in folder list
- Add functional mailbox as another mailbox (A) or as another account (B)
- Switch to the calendar of the other mailbox or account
Functional mailbox with legacy Outlook for Mac
Go to the menu
- Outlook - Settings - Accounts
- Your Exchange account - Advanced - Delegates
- Under "Open these additional mailboxes", enter the functional mailbox by clicking on the plus sign.
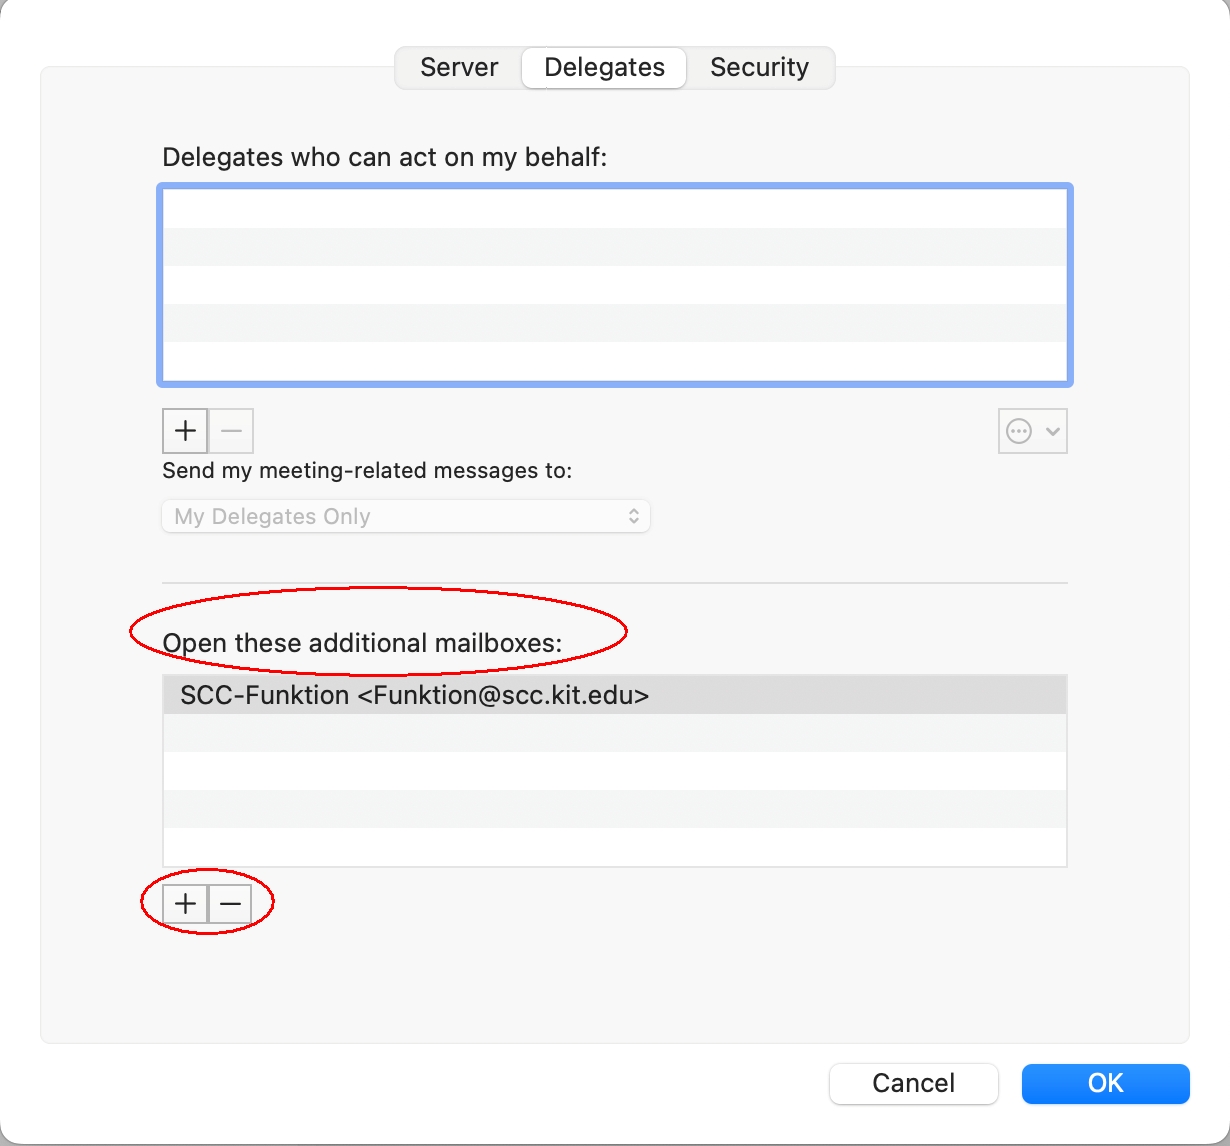
- Enter the name of the functional mailbox
- Select the desired mailbox and click on "Add"
- If the window "Outlook was redirected to the server autodiscover.kit.edu to get new settings for your account <email address>. Do you want to allow this server to configure your settings?" appears, click "Allow".
- "Always use my answer for this server": yes
- "Allow"

- The mailbox now appears in the folder list.
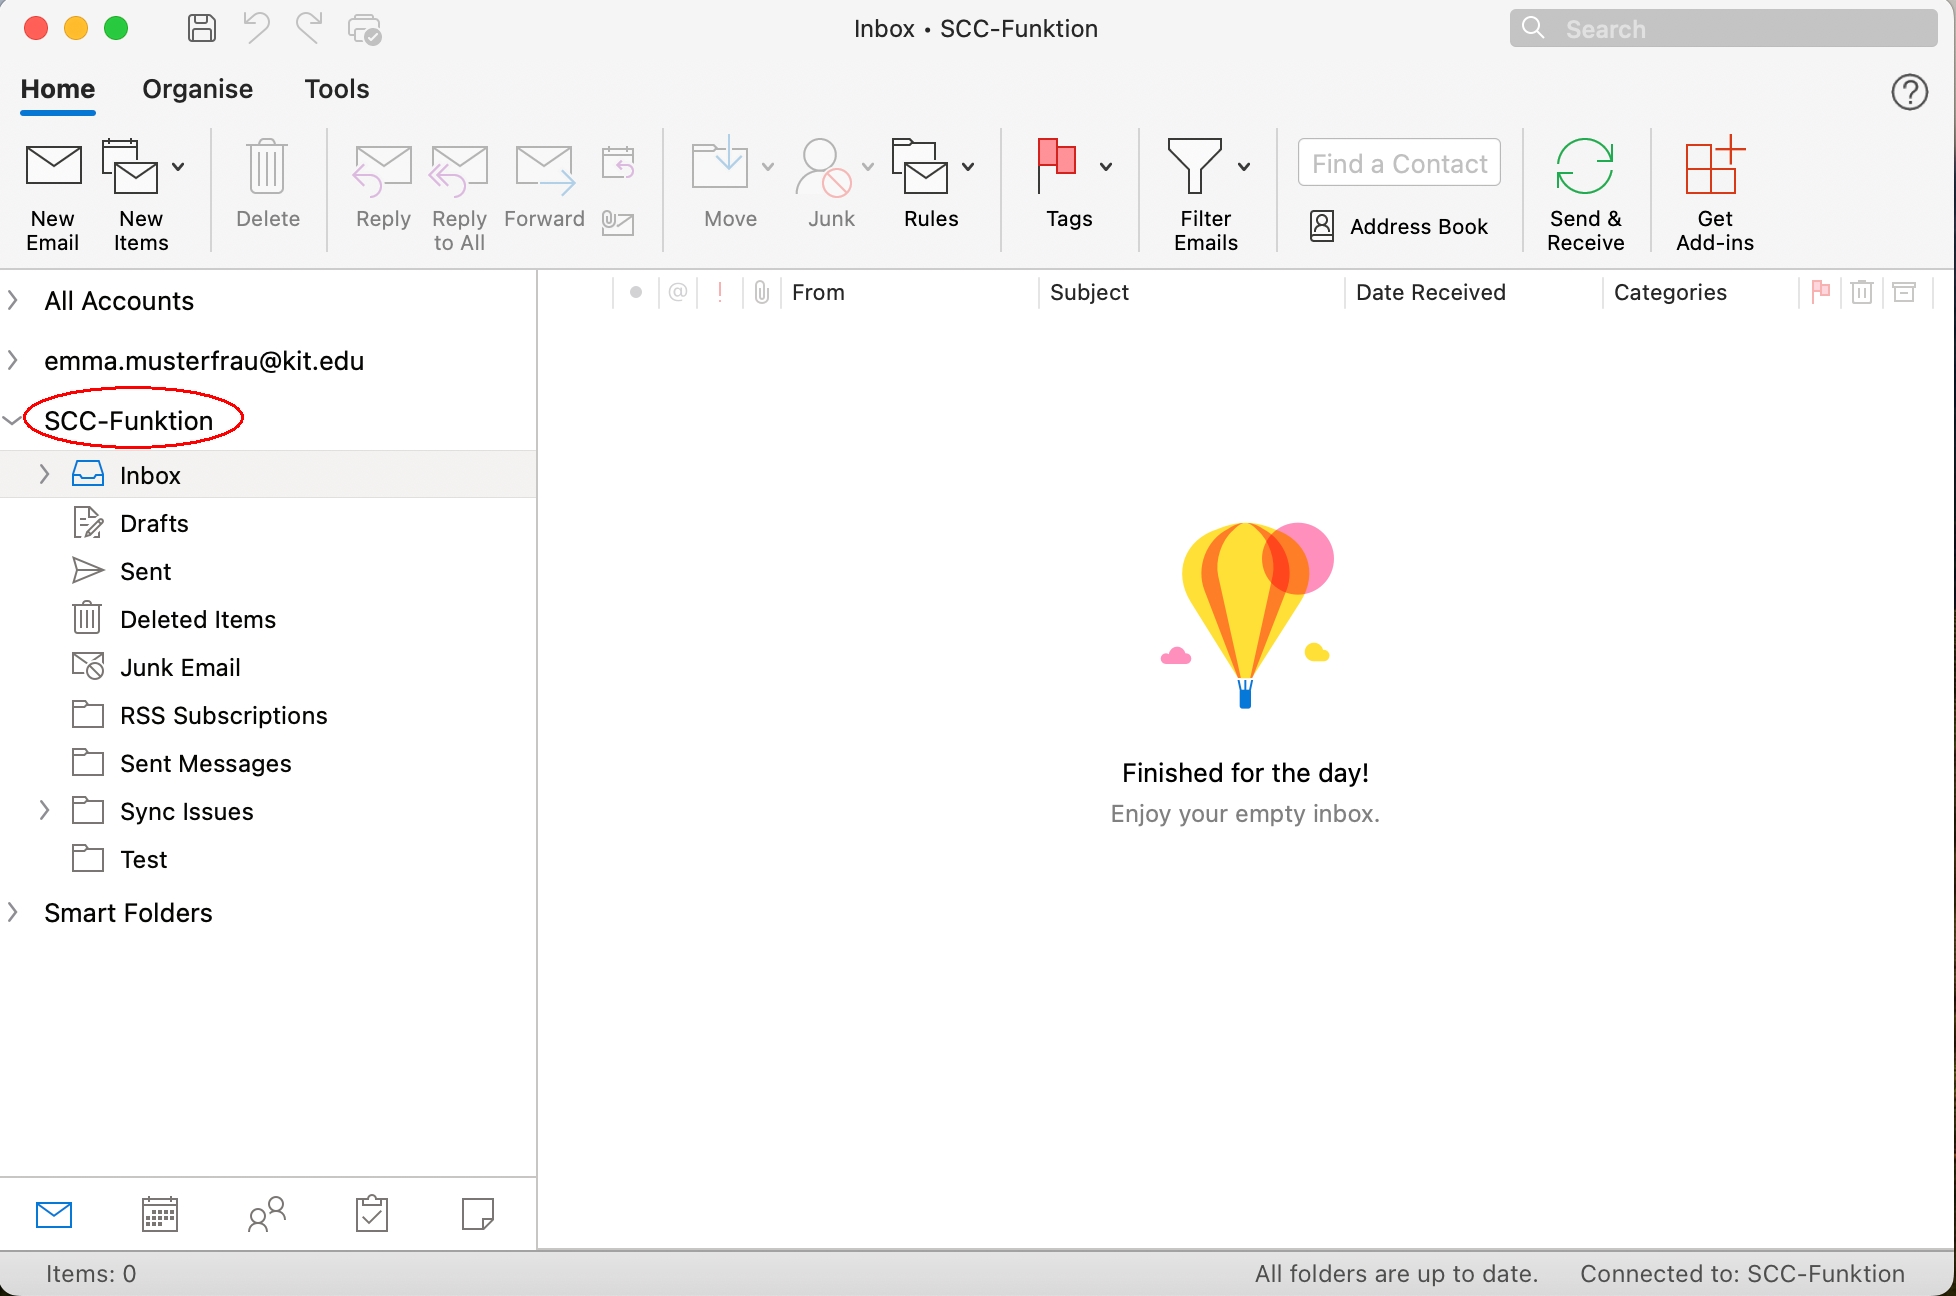
Adding the functional mailbox is complete.
